Cyclekart Club of Australia Logo              
Introduction
Groups
Build Pages
Pinned Items
Recent Activities
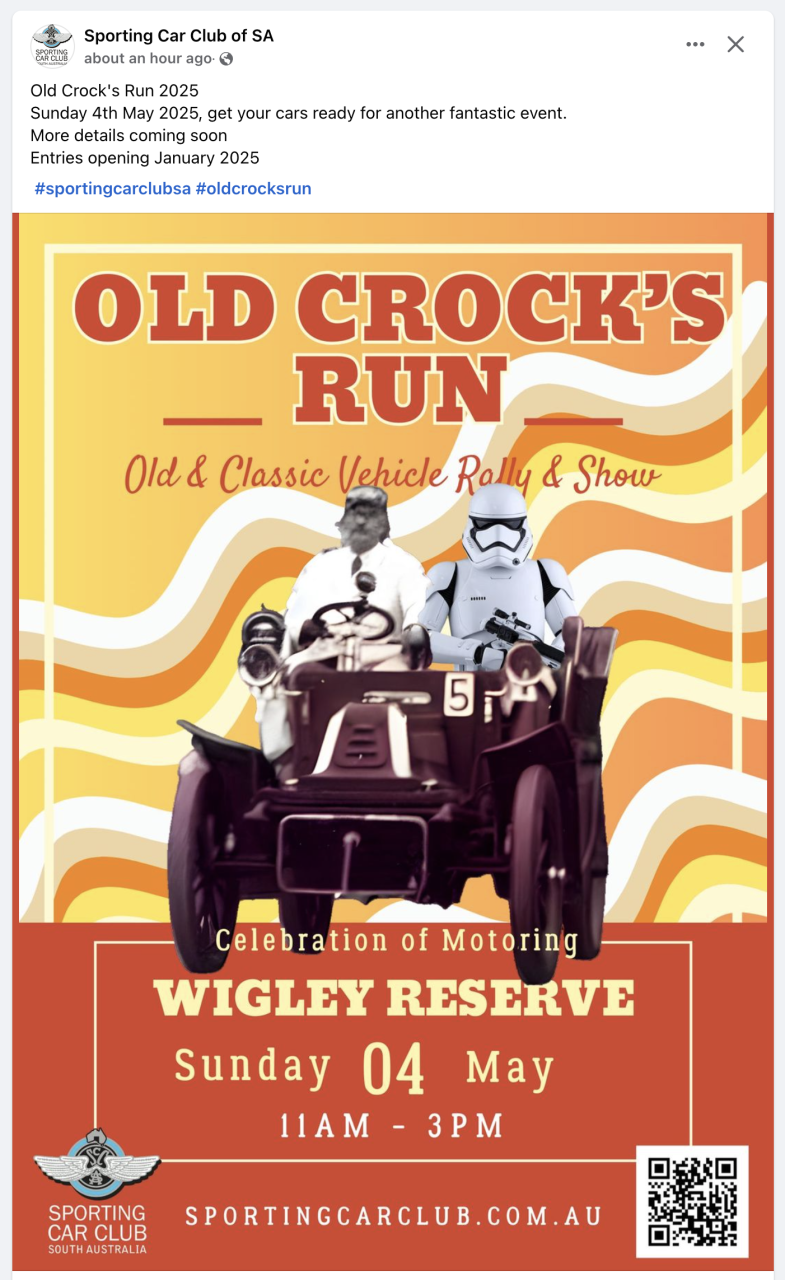
  • The Sporting Car Club have announced the Date for the Old Crocks run next May. Might be an opportunity to put on a display. Plenty of time to get a few more CKs built.

    0
    0
    0
    0
    0
    0
    Comments (0)
    Post is under moderation
    Stream item published successfully. Item will now be visible on your stream.
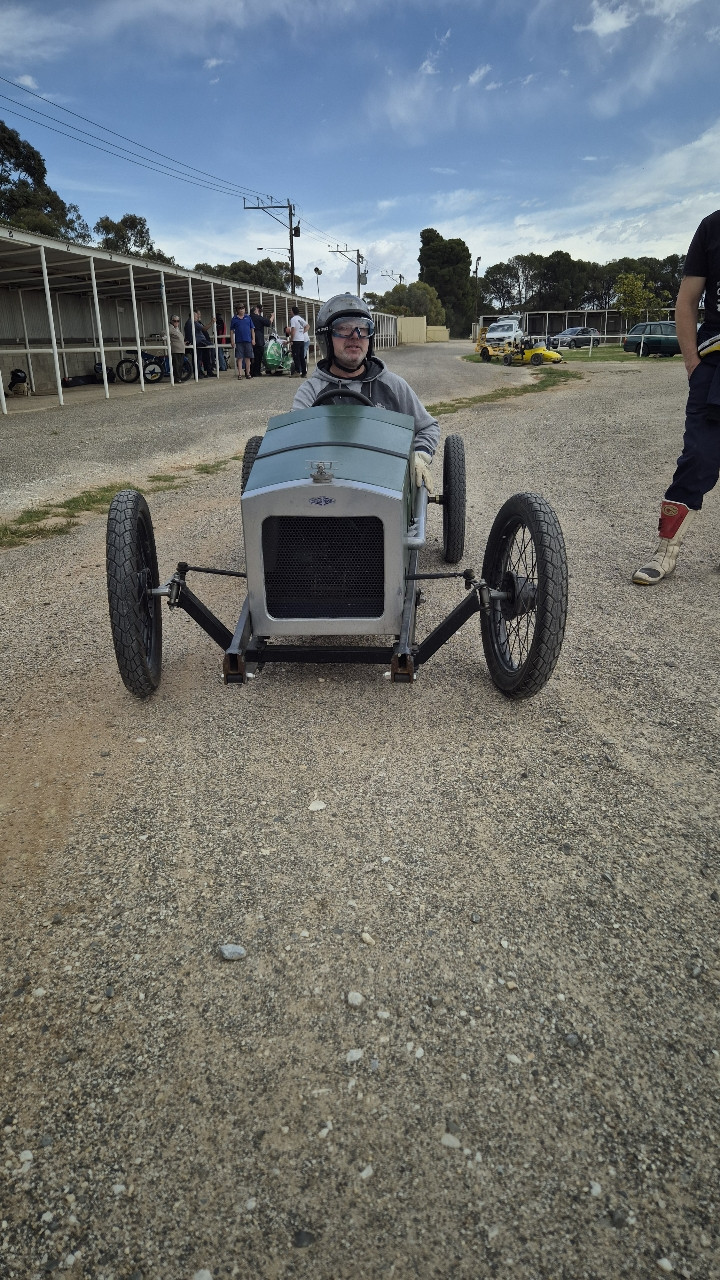
  • Had a great day at The Bend with the SAVSA crew. We had a prime spot on the green outside the main building.

    Was interesting to watch people make their way along the lineup of cars and then start scratching their heads when they got to the Cyclekart. Their confusion was probably addled by the lack of bodywork. It definitely piqued the interest...
    Had a great day at The Bend with the SAVSA crew. We had a prime spot on the green outside the main building.

    Was interesting to watch people make their way along the lineup of cars and then start scratching their heads when they got to the Cyclekart. Their confusion was probably addled by the lack of bodywork. It definitely piqued the interest of a few people.

    Was also great to watch the kids sitting in the Speedcars, a favourite with parents and children alike. Unfortunately the Cyclekart was without a seat so missed out on that opportunity this time around.

    We handed out a few flyers and chatted to a few people. I also got a few ideas for a better display for the next event. Had an opportunity to take a walk around the facility and watch a bit of racing too.

    Looking forwards to the next event at Mt Barker on the 10th.

    A big thanks to Bill and the SAVSA crew for their hospitality.
    More
    0
    0
    0
    0
    0
    0
    Comments (0)
    Post is under moderation
    Stream item published successfully. Item will now be visible on your stream.
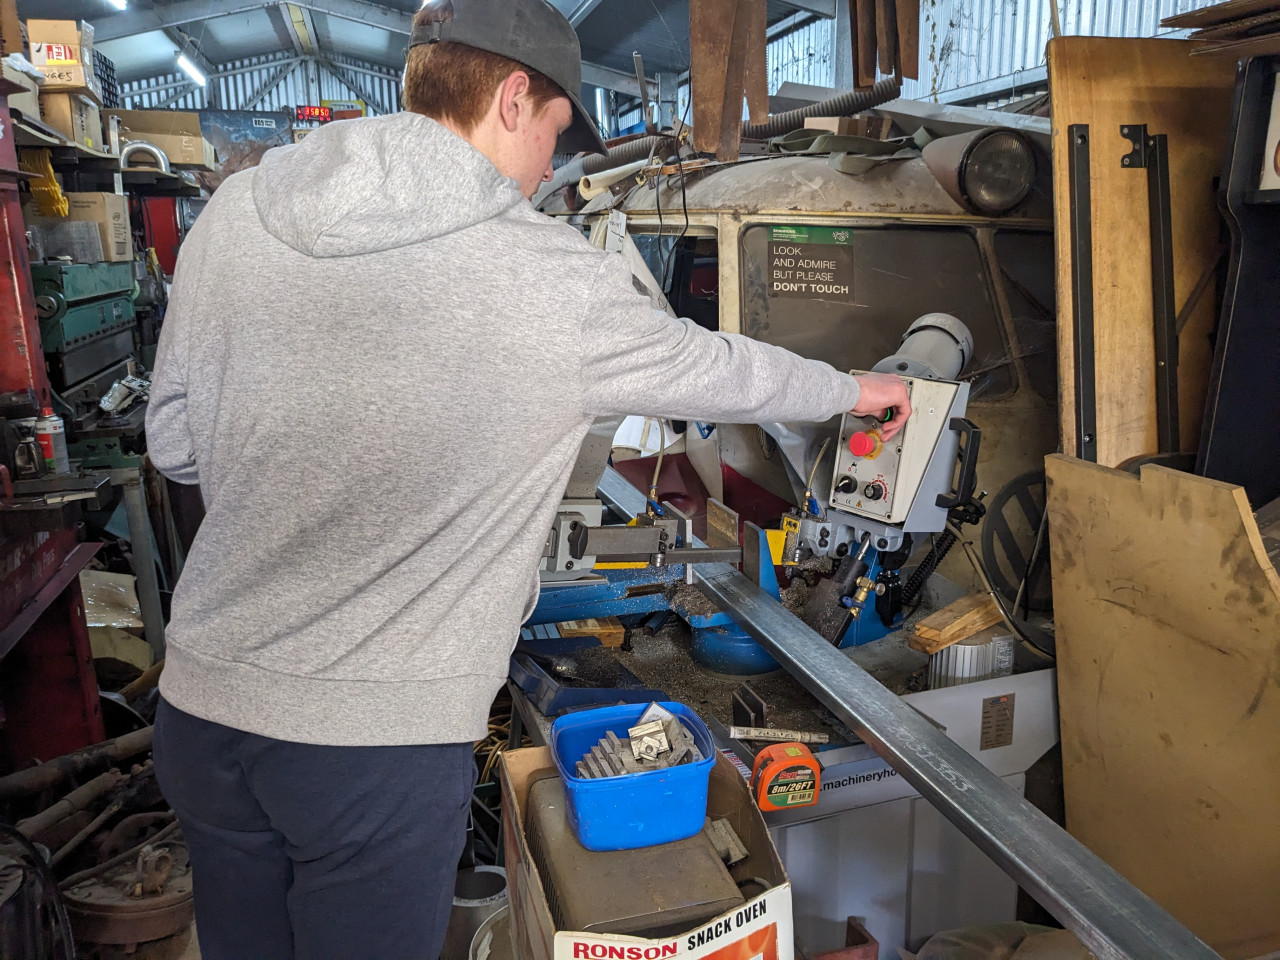
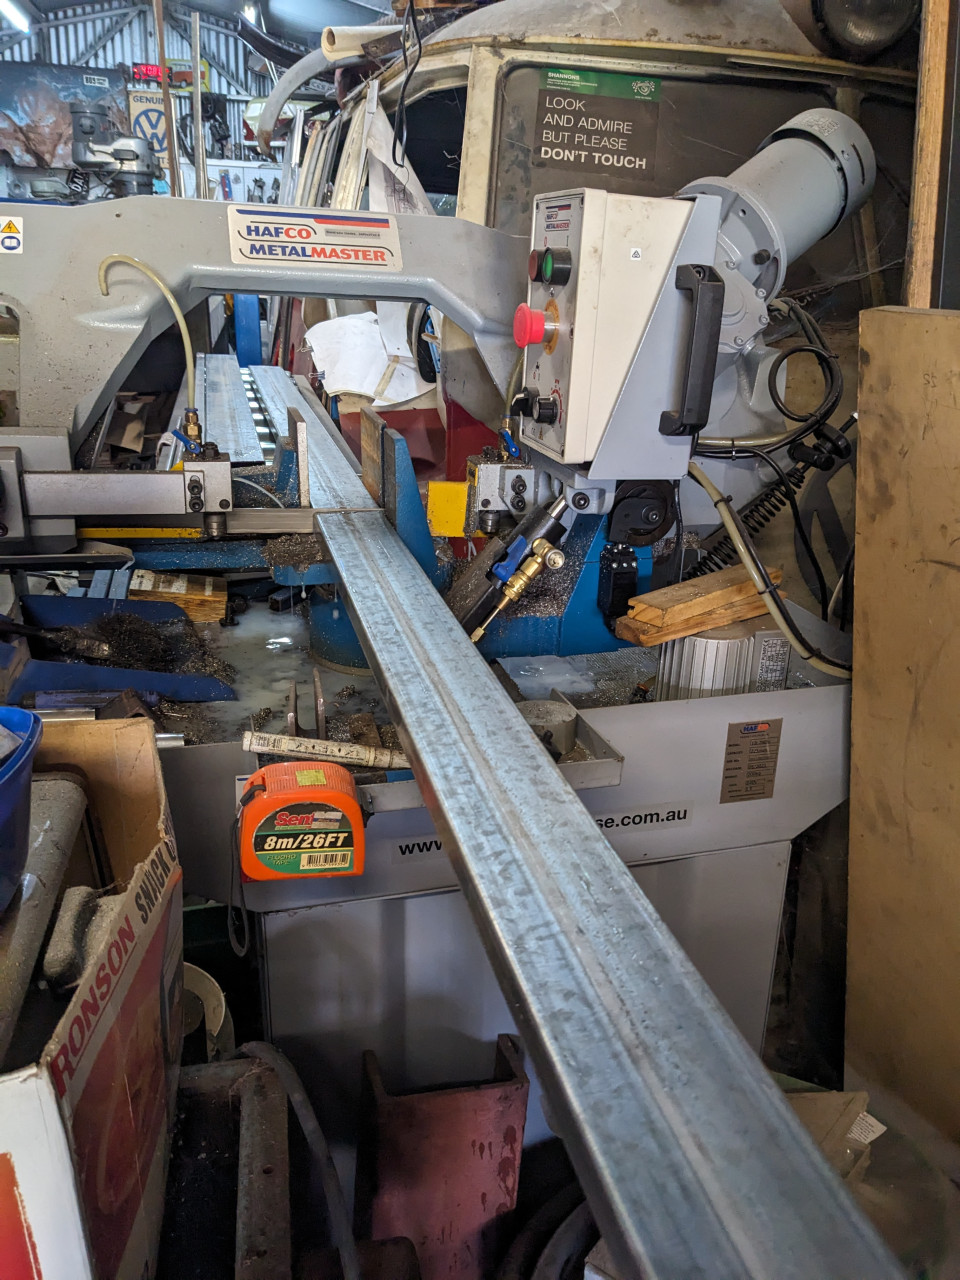
  • Spent today working through getting the Cyclekart rolling. This included finishing the hubs for the wheels and the steering.

    I had to drill the plates that I cut the other day along with the wheel hubs. I drilled these for M10 bolts. I will need to weld some bits of flat bar to locate the hubs into the wheel to stop the hub from spinning in...
    Spent today working through getting the Cyclekart rolling. This included finishing the hubs for the wheels and the steering.

    I had to drill the plates that I cut the other day along with the wheel hubs. I drilled these for M10 bolts. I will need to weld some bits of flat bar to locate the hubs into the wheel to stop the hub from spinning in the wheel under load, but I'll do that later. There's plenty of little bits to tidy up before final paint and assembly.

    I also needed to clean up the rear axle as the fit of the bearing on one side was a bit too tight. With that done and the axle out of the car it gave me a chance to fit the brake disk. The disk dits nice and close to the cross member at the rear bulkhead, so it should be trivial to mount the calliper. I also have a seperate cable operated calliper as well, this will be operated by the handbrake lever. Handbrakes are a requirement for CCA events.

    With the rear axle fitted up I turned my attention to the steering. I drafted up some arms to weld to the front hubs and cut them out on the plasma cutter. Then, literally just I was finished, right at that moment the Amazon delivery guy dropped off the two bearings that I had ordered to mount the steering column. It literally could not have been better timing.

    So I made a quick mount for the lower bearing to sit on and a cross bar that I fitted to the dash hoop to mount the top bearing to. I intend to re-do the bottom mount as it is a bit ordinary, but for a proof of concept it does the job. I think I will keep the top mount, mostly as I plan to cover it with the dashboard so it will not be seen. There's plenty of room to slide underneath when getting into and out of the cockpit.

    With the steering done and the final position of the dash hoop decided, I tidied up sone other bits and bobs and also fitted the hand brake lever. This sits in line with the dash hoop and will be slightly forwards of the cockpit opening. The cowl will extend past the dash hoop and will curve upwards slightly at the top of the cowl.

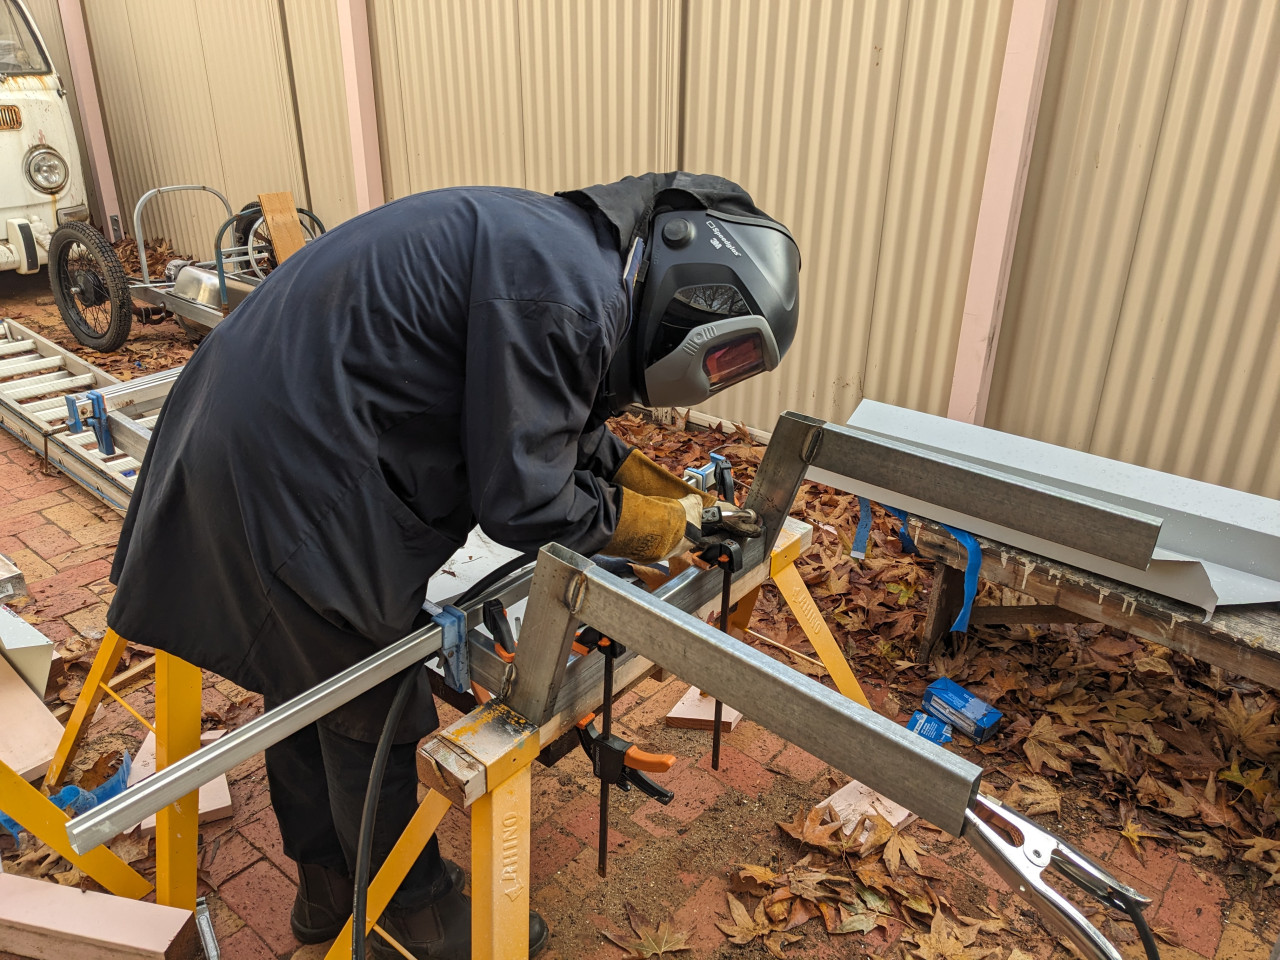
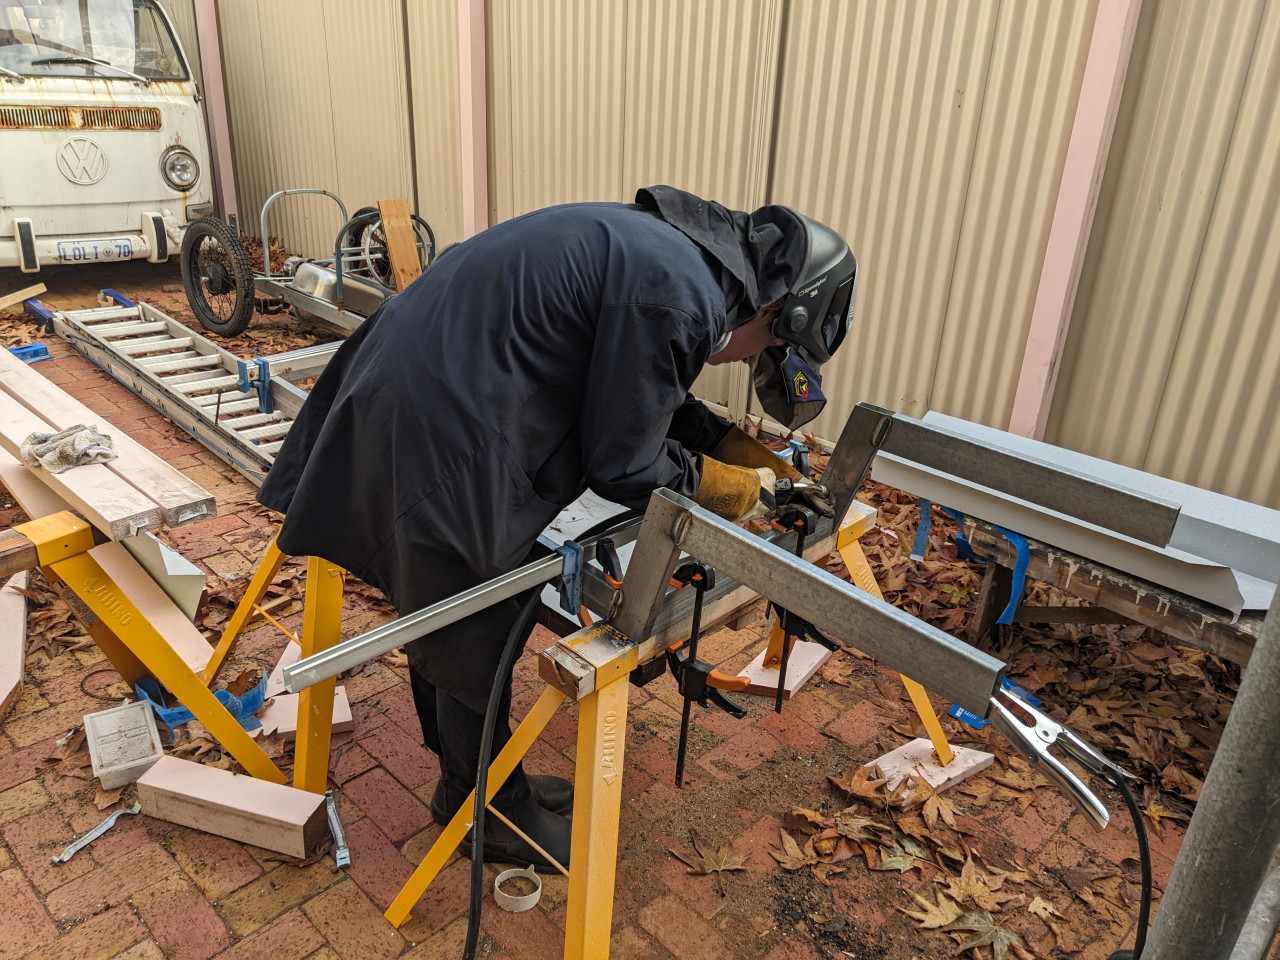
    I also tacked the rear tail together and tacked it to the rear bulkhead hoop. The tail will be removable, but as I did not get the chance to fabricate the locking mechanism to hold the tail in place, I figured I'd temporarily weld it in position for the show tomorrow.

    And so with that done there was only one thing left to do; see if it fitted into the trailer. The trailer is just a 6x4, but fortunately, with the front gate folded down the Cyclekart fits perfectly. The rear chassis member is just higher than the tail gate. Currently the tail section sits above the tailgate but once finished will sit a lot lower. This isn't an issue as It can simply be removed for transport. The trailer was original purchased for transporting the Cyclekart and the fold down front gate was a major plus, so good to see that it fits. One more job ticked off of the list.
    More
    0
    0
    0
    0
    0
    0
    Comments (0)
    Post is under moderation
    Stream item published successfully. Item will now be visible on your stream.
  • So today was a non-build day as I had other commitments but I did manage to snatch an hour this morning to weld up the steering wheel.

    I'm using the typical generic quick release go-kart steering hub to attach it to the steering column. This is an aluminium hub with a steel adaptor that you can weld onto the end of the shaft.

    One thing that...
    So today was a non-build day as I had other commitments but I did manage to snatch an hour this morning to weld up the steering wheel.

    I'm using the typical generic quick release go-kart steering hub to attach it to the steering column. This is an aluminium hub with a steel adaptor that you can weld onto the end of the shaft.

    One thing that annoys me about these is the three bolts that hold it on, especially on a steering wheel with four spokes. There's a distinct lack of symmetry to it. So in a bid to make it a little more aesthetically acceptable I decided to add three more mounting bolts. On reflection, perhaps I should have just re-drilled it for four fixings as the original holes would be obscured, and it would have matched the spokes, but foresight appears to be in short supply today. At least with six mounting bolts it has some symmetry to it. I'm not overly keen on the socket head bolts as they seem too modern, but were evidently invented in 1910, so are contemporary with the era. I did have a go at filing a slot in one to turn it into a faux slotted head. But not too sure on what looks best. If I can find some M8 slotted countersunk bolts I'll swap them out.

    I also received a delivery for some of the parts I reordered due to not being able to find the ones I already bought. Specifically the brake disk hub and extended hydraulic brake line. Got to hand it to Amazon, I ordered them two days ago and here they are already. Of course. Now that I have the replacements I am almost certain that I will now find the original parts. This being the Law of Sod.

    One more day of CK suff before the event on Sunday. Don't expect I'll get anything major done. Lots of shits and bits to finish off tho.
    More
    0
    0
    0
    0
    0
    0
    Comments (0)
    Post is under moderation
    Stream item published successfully. Item will now be visible on your stream.
  • Today was one of those two steps forwards one step backwards kinda days. I started off with a plan to pick up some more steel to get a start on the bodywork and make a steering wheel so that I could get the steering sorted out. My plan was to roll a hoop from 1" steel tube and use that to make the steering wheel. However, when trying to roll...
    Today was one of those two steps forwards one step backwards kinda days. I started off with a plan to pick up some more steel to get a start on the bodywork and make a steering wheel so that I could get the steering sorted out. My plan was to roll a hoop from 1" steel tube and use that to make the steering wheel. However, when trying to roll the hoop I found that the rolling machine made a right hash of it. The rollers are too far apart, so trying to roll smaller diameters is a bit of an issue

    Defeated I decided that I would simply resort to buying a steering wheel. Surely has to be something i could pick up locally eh. Turns out that is a no. Next I decided that I would try and find something with a suitable metal rolled hoop that I could repurpose. Surely there's something in Bunnings that I could use? Unfortunately also a no.

    Then I turned to one of my suppliers - a specialist tube benders. Surely they could roll me a simple hoop. Shit, I might even be able to call in a favour. As it happens they could not, but gave me the details of someone who can. I decided to park that as a last resort

    So having wasted a few hours I finally decided to reduce the diameter of the tube from 1" to 3/4" and use the secondary rollers on the rolling machine. These are generally used for round bar but go up to 20mm. So I stole the tube I had set aside for the steering column and gave it a test. I managed to roll a reasonable looking hoop. Unfortunately I then needed to go get some more tube to roll another hoop and replace the steering column.

    The steering wheel was made from the two hoops welded together. The machine cannot roll a perfect circle. it leaves flat bits on the ends, so to make a completely circular hoop you need to use two hoops and weld them together. Pretty straightforwards. Next I drafted up a basic cross shape for the wheel centre.There seems to be two main styles. One fabricated similar to this and one made from aluminium, so I tried to replicate the profile of the fabricated style of wheel. I also cut out some plates for the bottom of the steering column.

    Unfortunately I did not get any further than this as I ended up having to deal with some other non CK stuff which frustratingly turned out to be a massive waste of time. Just the way it goes sometimes.
    More
    0
    0
    0
    0
    0
    0
    Comments (0)
    Post is under moderation
    Stream item published successfully. Item will now be visible on your stream.
  • Had a fairly productive day today. After Tim Wheater's suggestions on the FB group to move the engine forwards, I started the day off with bit of a plan in mind. I decided that I should get the tail section made up and then extend the rear chassis to allow me to move the engine further forwards. Making the tail section would define how much...
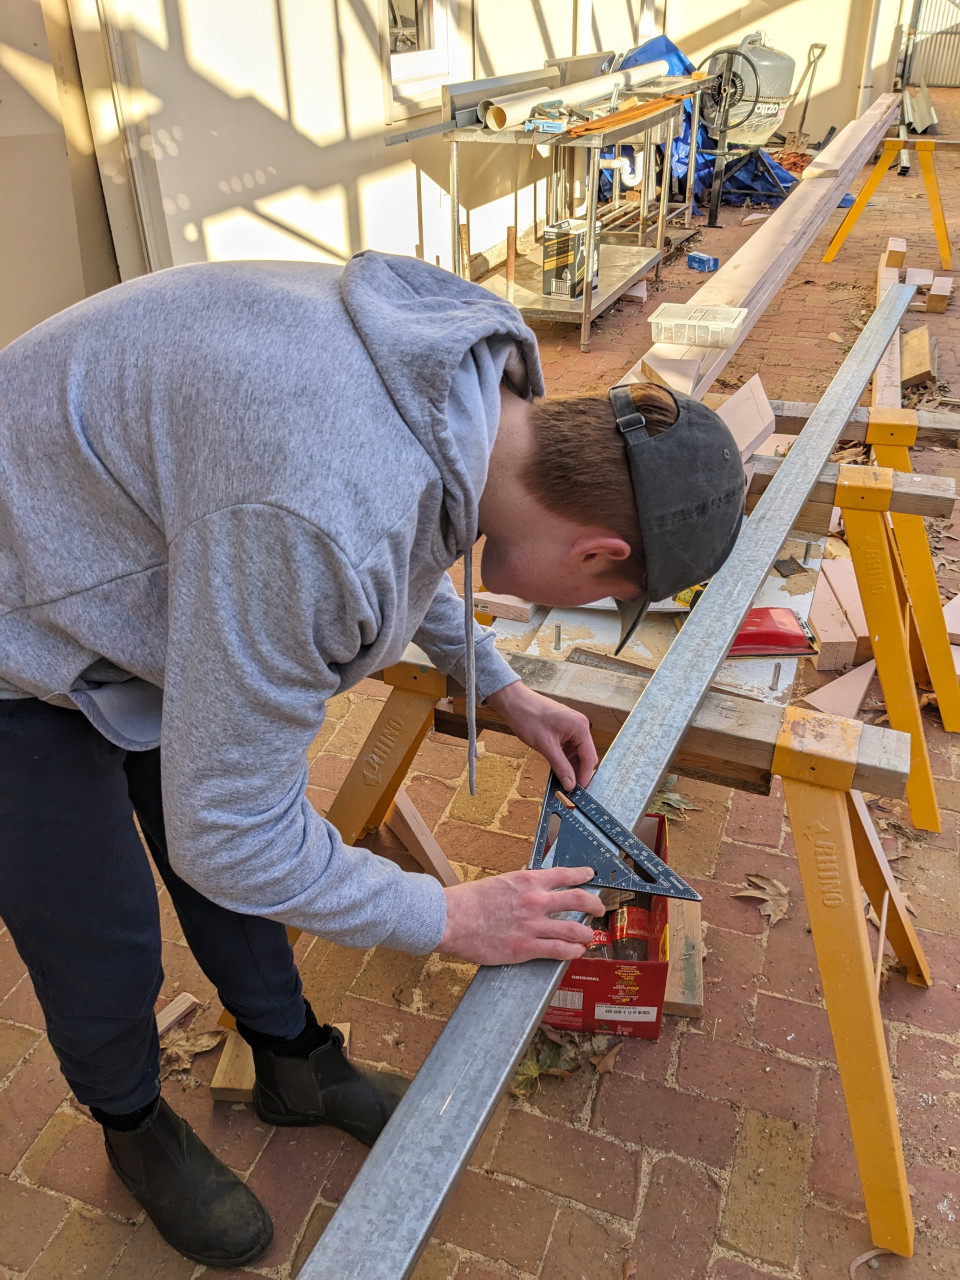
    Had a fairly productive day today. After Tim Wheater's suggestions on the FB group to move the engine forwards, I started the day off with bit of a plan in mind. I decided that I should get the tail section made up and then extend the rear chassis to allow me to move the engine further forwards. Making the tail section would define how much room I had to work with. So I mocked up the footprint of the rear tail section with some plastic extrusion and duct tape until it looked kinda right, and then rolled some RHS curves to match.

    After cutting and tacking up the tail frame, I cut out the old rear cross member and extended the chassis rails by 80mm. This was plenty enough room to allow the TAV to be flipped and the engine moved forwards. I also lowered the engine by 20mm, which in turn allowed me to chop the rear hoop by 30mm and still have plenty of clearance above the engine for the body to slope downwards at the rear. I also moved the engine mounting 30mm to the left in the chassis. The reason for this is that now the fuel filler lines up with the centre of the car. I still need to close off the open ends of the chassis extensions, which I will do with some nice rounded off RHS sections, similar to the original, but that will have to wait until another day. I also plan to drop the lower rear tail tube by stepping it just behind the rear chassis member. The plan is to have the entire tail section lift off of the chassis

    With the rear hoop chopped, I welded the offcuts on to the dash hoop to bring it up to the same height. I also fabbed up the front grille hoop at the same height as the dash hoop. This really made the outline easier to visualise. It's now much easier to imagine how it will look once it's got some skin on it. It's really starting to take shape.

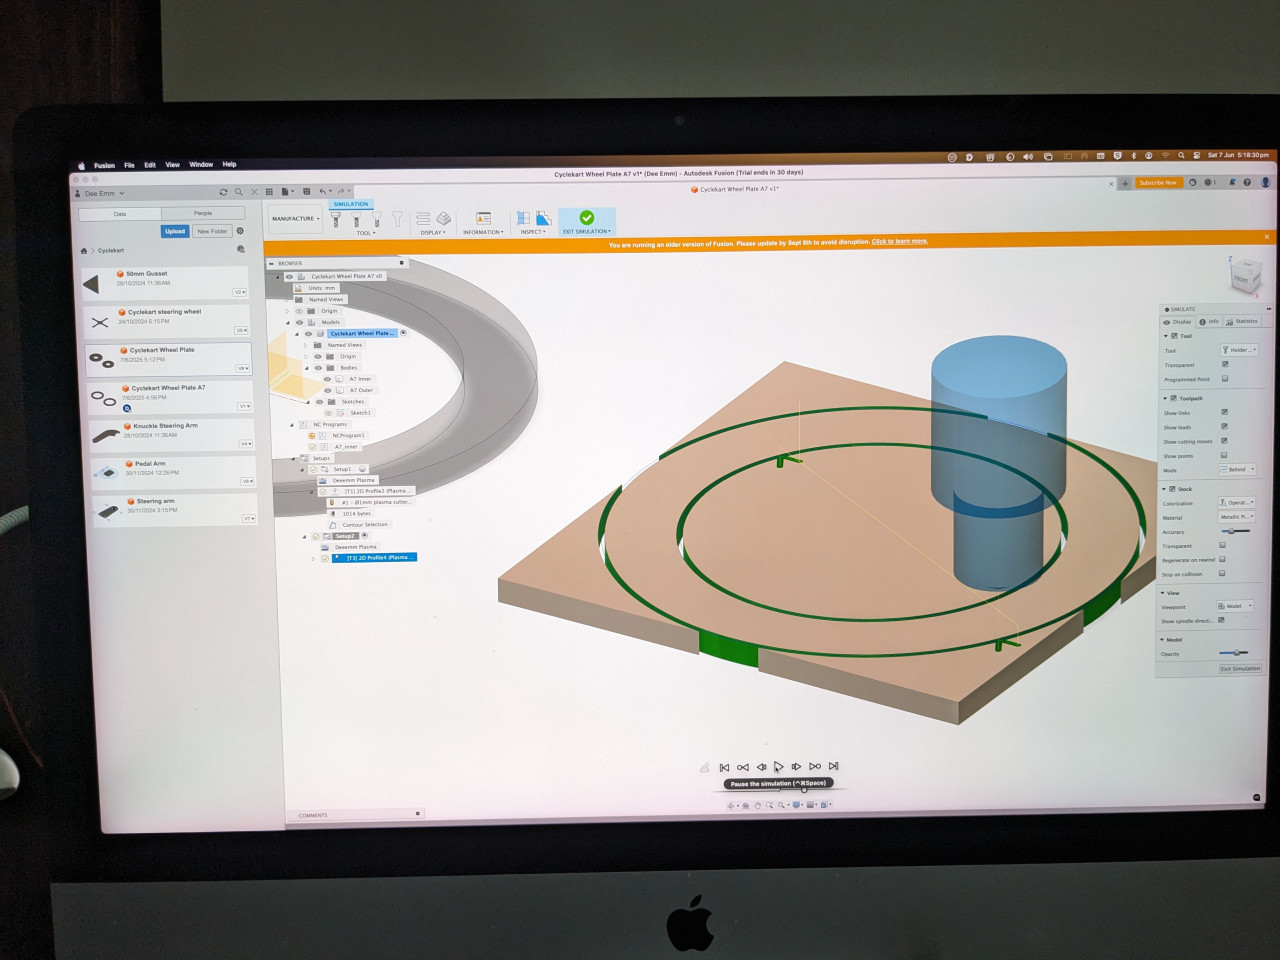
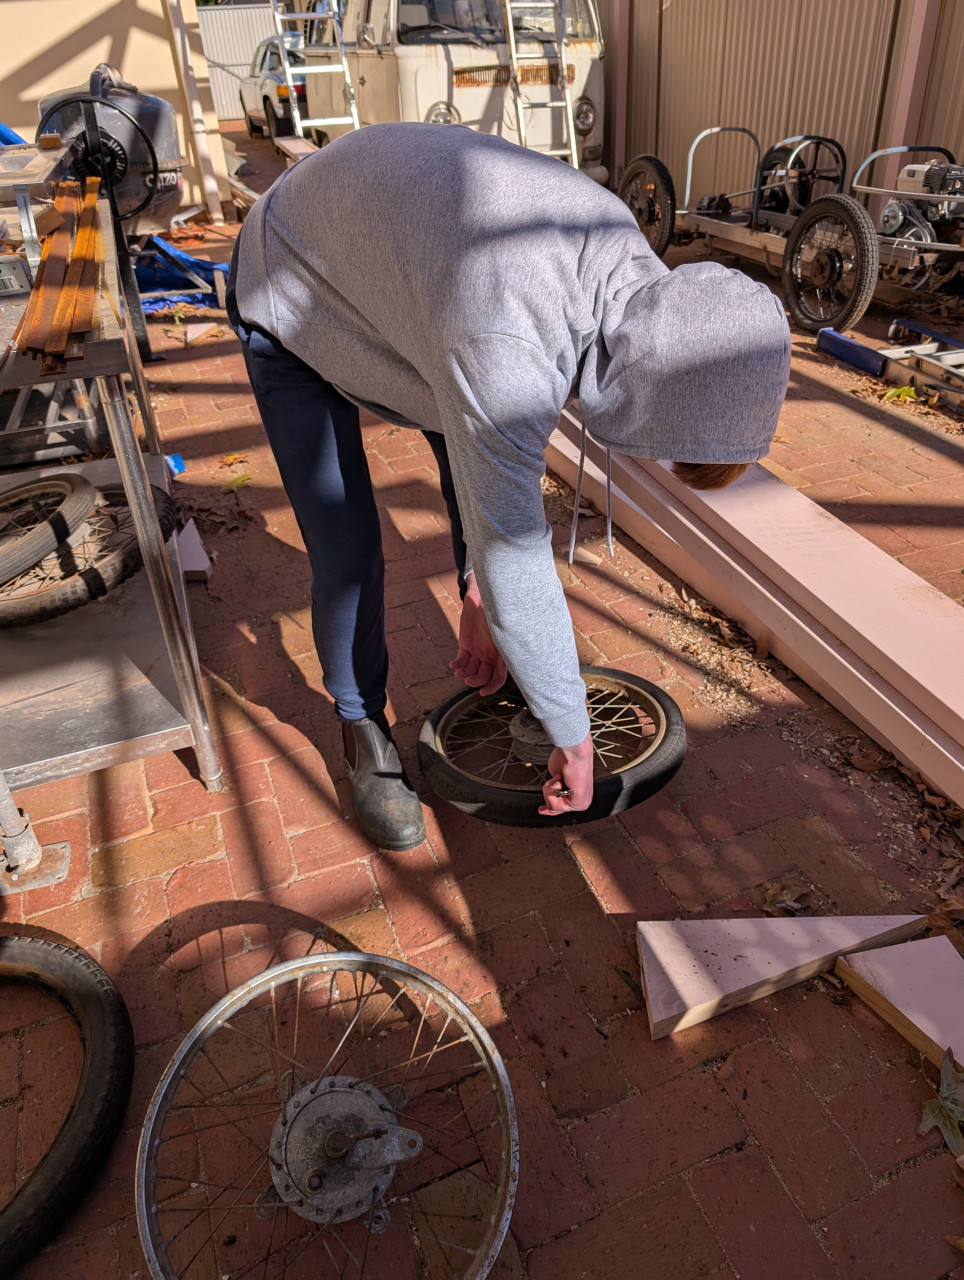
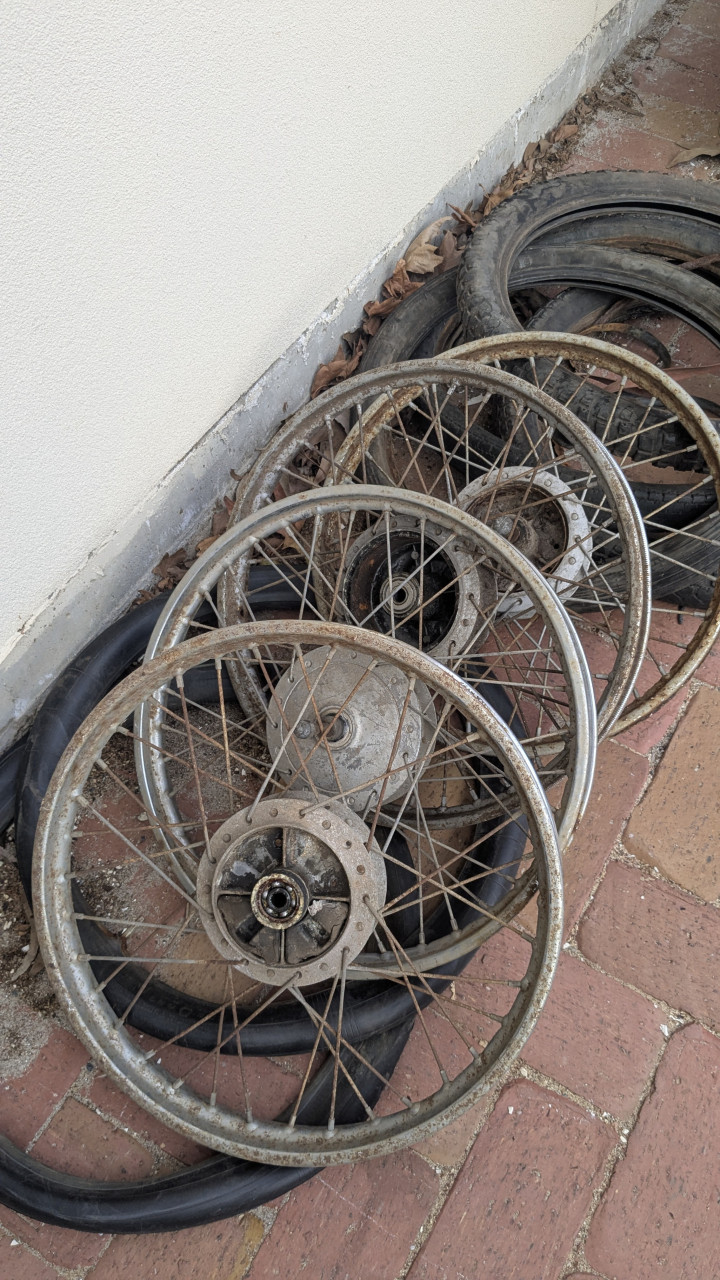
    Moving on to mounting the rear wheels up, I had to draft some plates to fit the outside of the wheels. These act as a reinforcing plate which sandwiches the wheel centre against the rear drive hub and to helps to spread the load of the bolts. This meant drafting up the plates in Fusion360 and then firing up the CNC Plasma. I built this machine over 10 years ago and it's been a pretty handy thing to have. I just need to drill the hubs and plates for he mounting bolts.

    With the chassis kinda finished I got a little sidetracked with some accoutrements, which burned up a little time. That and of course the obligatory standing back and staring aimlessly. I managed to reconfigure the handbrake mech that I originally made for my Speedster so that it can be operated from an upright handle. I also dug out a blower casing from the parts bin and mounted that to the front cross member. The grille will wrap around this and I will make up a dummy carburettor and inlet manifold to finish it off.

    I didn't get to the steering, but I realised that I need to make a steering wheel before I can get that set up. So tomorrows tasks are make a steering wheel, bend up the wireframe for the cabin and mount the rear wheels. Then with whatever time I have left make a start on the bodywork. Unfortunately I forgot that I have other engagements Friday, so tomorrow is the last hoorah before The Bend. At least it looks kinda car-like.

    Ahhh yes. One other very important task for tomorrow. Trial fit it into the trailer. I already know that the Cyclekart is longer than the bed, but that's okay as I can fold the front gate of the trailer down. However I might have to fabricate some kind of transport stand to hold the front wheels up.

    Ahh yes, also swapped the engine out for the electric start engine that will be fitted as I needed to make sure that there was enough clearance for the starter

    Bit photo heavy this one...
    More
    0
    0
    0
    0
    0
    0
    Comments (0)
    Post is under moderation
    Stream item published successfully. Item will now be visible on your stream.
  • Today I finished off and welded on the belly pan frames. This also gave me a chance to put a floor in and try it on for size. Everything seems to be good as far as access and ground clearance is concerned. It also gave me the chance to figure out the height of the body and ponder proportions.

    The depth of the body at the dash hoop is 600mm,...
    Today I finished off and welded on the belly pan frames. This also gave me a chance to put a floor in and try it on for size. Everything seems to be good as far as access and ground clearance is concerned. It also gave me the chance to figure out the height of the body and ponder proportions.

    The depth of the body at the dash hoop is 600mm, This is from the bottom of the belly pan to the top of the cowl. This is in line with the Stevensons plans (575mm nominal) and also the overlay that I made. However. The rear hoop needs to be a little higher than this to clear the engine. Plus, the front grille also needs to be a little taller so that it has the right proportions, as currently it is a little too squat. The body lines of the Bentley also have the rear cowl in line or in some cases lower than the front bodywork. Currently the rear hoop is 75mm higher than the front hoop, which obviously does not look right.

    I also squared off the rear of the chassis and mounted the engine. It's only tacked in at the moment as I think I am going to try and drop it a little lower in the frame. This will allow me to drop the rear hoop a little, which combined with raising the front hoop will bring everything in line. I'm hoping that this will give the correct overall proportions and be visually correct.

    I've got a full day to spend tomorrow so I want to try and get all of the chassis and steering stuff finished off so that its rolling and steering. That will leave me a couple of days to try and get some bodywork on it.
    More
    0
    0
    0
    0
    0
    0
    Comments (0)
    Post is under moderation
    Stream item published successfully. Item will now be visible on your stream.
  • So I didn't get quite as far as I planned today. But still managed to get the rear bulkhead and dash hoop made up along with the belly pan frames. A fair bit of time was spent getting the tooling set up, which involved searching through boxes trying to find the right sized rollers for my rolling machine and dies for the mandrel bender. Was also...
    So I didn't get quite as far as I planned today. But still managed to get the rear bulkhead and dash hoop made up along with the belly pan frames. A fair bit of time was spent getting the tooling set up, which involved searching through boxes trying to find the right sized rollers for my rolling machine and dies for the mandrel bender. Was also the first time that I have used the rolling machine since purchasing it a year or so back for another project. So that was kinda cool.

    I did forego making up templates in favour of 'eyeing-it'. This kind of behaviour can obviously go one of two ways lol. Fortunately the profiles came out okay. The trick is to make the bends up in sections and then chop them at the 'apex' before stitching them together, rather than trying to bend them up out of one continuous piece. You do need to plan your bends and also get a little bit of wastage, but steel is cheaper than time so it's a good tradeoff. There is so much variation between the actual full sized cars that a little 'artistic license' is not going to make a big difference. Plus to a degree I'm limited with the radius of the mandrel bender.

    I still need to set the height of the bulkhead and dash hoop, but cannot really do that until the belly pan frames are installed. These need to be in place so that I can get judgement of the overall body height from the bottom of the pan to the top of the hood. Scaling from my overlay the dash hoop is supposed to be correct, but it looks a little too low, which I think is just an optical illusion with the belly pan frames missing.

    The belly pan frames are simply small hoops that sit underneath the chassis rails to give the sills that rolled under look and drop the floor down below the chassis. I'll weld some 2mm steel plate to the bottom for the floor and extend the bodywork down to meet the floorpan.

    Tomorrow I should get those parts stitched up and take a look at the grille hoop. I have a bit of an idea on how to make up the grille surround, but again I'm going to try and wing-it a little as I don't have the luxury of time to build a buck.
    More
    0
    0
    0
    0
    0
    0
    Comments (0)
    Post is under moderation
    Stream item published successfully. Item will now be visible on your stream.
  • Fixed up the rear chassis section today and got the rear axle mounted up. Mocked up the engine mounting location and tried a couple of difference configurations for the torque converter. I can mount the engine forwards, in which case it would need to be higher to avoid clashing with the drive sprocket, or further back and lower down I'm leaning...
    Fixed up the rear chassis section today and got the rear axle mounted up. Mocked up the engine mounting location and tried a couple of difference configurations for the torque converter. I can mount the engine forwards, in which case it would need to be higher to avoid clashing with the drive sprocket, or further back and lower down I'm leaning towards further back as the greater head clearance will make the tail easier to make.

    Frustratingly I spent half the day just trying to find the parts that I had stashed. It's been so long since I looked at this project that I could not find everything. Still got some stuff to find.

    Tomorrows task is to mount the engine and rear wheels and hopefully get the bulkhead and belly pan frames bent up
    More
    0
    0
    0
    0
    0
    0
    Comments (0)
    Post is under moderation
    Stream item published successfully. Item will now be visible on your stream.
  • Hey Guys. Just a reminder that The Bend event is just a week away.

    Swifty Can you get in touch, the phone number that you left me was incorrect. If anyone else is interested in attending, please let me know.
    0
    0
    0
    0
    0
    0
    Comments (0)
    Post is under moderation
    Stream item published successfully. Item will now be visible on your stream.
  • Spent a bit of time digging out the Cyclekart from the back of the workshop today to get it ready for The Bend event next weekend.

    After taking check of everything I decided to go back to the drawing board with the rear chassis. The chassis had a bit of a twist in it. I'm guessing that it must have pulled when originally welded and I never...
    Spent a bit of time digging out the Cyclekart from the back of the workshop today to get it ready for The Bend event next weekend.

    After taking check of everything I decided to go back to the drawing board with the rear chassis. The chassis had a bit of a twist in it. I'm guessing that it must have pulled when originally welded and I never noticed. So I've cut the rear section off and am going with a raised section with the axle underneath, rather than through the chassis rails.
    More
    0
    0
    0
    0
    0
    0
    Comments (0)
    Post is under moderation
    Stream item published successfully. Item will now be visible on your stream.
  • Mick started a new discussion, Promotional Flyers
    Promotional Flyers
    •   General
    •   Thursday, 17 October 2024
    With event season already here we decided to make up some promotional flyers. If you are attending an event, or have a noticeboard at your local auto club or auto store, we've made some flyers that you can print out to help spread the word.

    Do...
    With event season already here we decided to make up some promotional flyers. If you are attending an event, or have a noticeboard at your local auto club or auto store, we've made some flyers that you can print out to help spread the word.

    Don't forget you can also print out a personal flyer with a QR code that links directly to your Cyclekart build page. Just click on the link in the left column on your build page.

    You can download a printable PDF version of the promotional flyer below

    https://cyclekarts.org.au/images/club/What-is-a-Cyclekart-Flyer.png
    More
    1. View Post
    0
    0
    0
    0
    0
    0
    Comments (0)
    Post is under moderation
    Stream item published successfully. Item will now be visible on your stream.
  •   Mel reacted to this post about 1 month ago
    Mick started a new discussion, Cyclekart Club events
    Cyclekart Club events
    •   General
    •   Sunday, 13 October 2024
    Recently the club were approached by Bill Berlemon from the South Australian Vintage Speedcar Association (SAVSA) who wanted to invite the club to participate in some of the long established events that SAVSA are involved in.

    The South...
    Recently the club were approached by Bill Berlemon from the South Australian Vintage Speedcar Association (SAVSA) who wanted to invite the club to participate in some of the long established events that SAVSA are involved in.

    The South Australian Vintage Speedcar Association is a long standing club that promotes and preserve Speedway's "Golden Era" at Rowley Park Speedway. It is dedicated to the innovative builders and heroic drivers of speedcars and three quarter midgets (TQ's) that competed on dirt speedways prior to 1980, mainly at Rowley Park.

    SAVSA have unfortunately experienced a decline in participants in recent times, which has caused them to consider what the future of events might look like for them. The concern being that the decline in numbers may potentially threaten the clubs ability to hold future events at all, if participation numbers drop too far.

    So Bill from SAVSA reached out to us to see if we would be interested in attending some of the SAVSA events and showing our Cyclekarts. The idea being that we can help to boost participant numbers for events, and in return we get a helping hand in getting the club established, which also includes track time at their Kapunda events.

    SAVSA have a pretty full events calendar with one event generally being held every month. They also have quarterly track days held at The Kapunda Track which are held in a test-and-tune format. This follows a long tradition of Speedcars and Cycle Speedway events at the Kapunda Track.

    Bill attended the SA monthly club meeting this past Friday and took the time to run through SAVSA's event calendar and tell us a bit about their history and goals. We think that this is a fantastic opportunity for the club and will of course help to get exposure for Cyclekarts and Cyclekarting. It's a great first step towards eventually holding events of our own.

    I will add the SAVSA events to the event calendar and encourage anyone that has a Cyclekart, even if it is not fully completed, to enrol to attend. Events are open to all.

    Even if you do not currently have a cyclekart, but are planning to build one. It could be a good target to aim to attend a future event and get cracking on your build. There's nothing like a deadline to help get you motivated.

    If you are interested in attending any of the events listed please flick me an email to events@cyclekarts.org.au and include your phone number and some details about your cyclekart.

    For those who are located interstate, we are looking for state representatives to join the club committee and help promote cyclekarting in each state. If you are interested in a committee role, please get in touch.
    More
    1. View Post
    Comments (0)
    Post is under moderation
    Stream item published successfully. Item will now be visible on your stream.
  • Mick started a new discussion, Murray Bridge show
    Murray Bridge show
    •   General
    •   Sunday, 29 September 2024
    461511891_8883077778393587_4386131671606958436_n.jpg

    Chris Rowes Cyclekart at the Murray Bridge show, displaying with the South Australian Vintage Speedcar Association.

    We were lucky enough to receive an invitation from the SAVSA to be a part of their display. Chris Rowe stepped up and...
    461511891_8883077778393587_4386131671606958436_n.jpg

    Chris Rowes Cyclekart at the Murray Bridge show, displaying with the South Australian Vintage Speedcar Association.

    We were lucky enough to receive an invitation from the SAVSA to be a part of their display. Chris Rowe stepped up and travelled to Murray Bridge to spread the good word and represent the club.

    The SAVSA are a long established association who function to preserve Speedway's "Golden Era" which was centered around the Rowley Park Speedway here in SA.

    The SAVSA have reached out to the Club with an invitation to join some of their future events. There may even be the possibility of test-and-tune track time as well.

    There is another event with the SAVSA planned for 27th October at The Bend. If you would like to attend, let me know and I will sort out some details. Would be good to get a few more Cyclekarts in attendance.

    Bill Berlemon from the SAVSA will also be attending our monthly meeting next month on October 11th, Please come and drop in and say hi.

    https://www.facebook.com/SAVSAInc

    461589859_8883078141726884_3992436536066709815_n.jpg

    461546358_8883078138393551_3704963559389935458_n.jpg
    More
    1. View Post
    0
    0
    0
    0
    0
    0
    Comments (0)
    Post is under moderation
    Stream item published successfully. Item will now be visible on your stream.
  • Mick likes a discussion post
    Engine mount vibration insulator
    For you guys with 3D Printers, this engine mount vibration insulator may be of interest.
    It needs to be printed from flexible PLA with high percentage infill (I used 100% although better results at the expense of crushability can be acheived at...
    For you guys with 3D Printers, this engine mount vibration insulator may be of interest.
    It needs to be printed from flexible PLA with high percentage infill (I used 100% although better results at the expense of crushability can be acheived at 75%).
    This has worked really well on the Chinese clone engine I have.
    More
    1. View Post
    0
    0
    0
    0
    0
    0
    Post is under moderation
    Stream item published successfully. Item will now be visible on your stream.
  • Mick replied to a discussion, King Pin Inclination Angles
    King pin inclination (KPI) along with caster (which you describe as forward-aft KPI) help to provide steering self centering and therefore stability. With a near zero inclination and caster angle the steering will be very light and twitchy, and...
    King pin inclination (KPI) along with caster (which you describe as forward-aft KPI) help to provide steering self centering and therefore stability. With a near zero inclination and caster angle the steering will be very light and twitchy, and you will find that bumps and ruts in the road will have a negative effect on handling, as the cyclekart will tend to dart around and be very lively.

    By adding KPI and caster the natural tendency of the steering is that the weight of the car will push the wheels back to their centred position. Bumps and ruts will have much less of a negative impact as any displacement of the wheels is automatically corrected, but steering will be much heavier.

    The figures that you have quoted seem fairly typical and are a reasonable guide. Some run as much as 15 degrees KPI.

    However it should be considered that King pin inclination and caster alone do not completely define the handling as there are additional factors such as Ackerman angle and scrub radius that also influence handling characteristics.

    HTH
    More
    1. View Post
    0
    0
    0
    0
    0
    0
    Post is under moderation
    Stream item published successfully. Item will now be visible on your stream.
  • Mick liked the page, 1930s Amilcar
    Post is under moderation
    Stream item published successfully. Item will now be visible on your stream.
  • Mick replied to a discussion, 100mph in a CycleKart...
    April fools :D
    1. View Post
    0
    0
    0
    0
    0
    0
    Post is under moderation
    Stream item published successfully. Item will now be visible on your stream.
  • Mick likes a discussion post
    The Cyclekart Club of Australia
    •   General
    •   Monday, 25 March 2024
    Over the coming month Aussie Cyclekarts and its associated resources will formally transition into The Cyclekart Club of Australia.

    The reason for this move is to support the need for a formal body so that events requiring insurances can be...
    Over the coming month Aussie Cyclekarts and its associated resources will formally transition into The Cyclekart Club of Australia.

    The reason for this move is to support the need for a formal body so that events requiring insurances can be organised. Some of this was outlined in the We Need You post made a few weeks back.

    This change does not affect existing or future users of the website or social media channels which will remain free to use for non club members.

    The main goal with club membership is that it will provide insurance for members participating in club events. So if you are not participating in club events, there is no formal requirement to be a club member. Of course, you may still elect to join the club as it will in time provide other benefits.

    Club events may take on many different forms and includes both static events and dynamic events. Dynamic events are the events that require public liability insurance and include any meeting where Cyclekarts are driven. For example the monthly get together that your local Cyclekart group holds.

    The intent is that the club provides insurance for dynamic events, like your local groups monthly get together so that you and your buddies do not have to. All that is required is that all participants are members of the club and that your meeting is conducted in accordance with the club (read: insurers) rules.

    So over the coming month you will note a change to the website URL which will migrate from cyclekarts.com.au to cyclekarts.org.au and likewise a change to the email address associated with the site.

    At this stage we have not determined the best action to take with regards to social media channels which all currently have the 'Aussie Cyclekarts' branding.

    We are in current negotiation with the insurers to organise a policy that will cater for our needs. Once we have a view on what this looks like we will be able to finalise membership costs and open membership up to those who wish to join.

    If you want to take advantage of the insurance for your local group meetings there will be some pre-requisites that need to be managed. Please get in contact for more information.
    More
    1. View Post
    0
    0
    0
    0
    0
    0
    Post is under moderation
    Stream item published successfully. Item will now be visible on your stream.
There are no activities here yet
Unable to load tooltip content.
 

The Cyclekart Club of Australia acknowledges the Traditional Custodians of country and their connections to land, sea and community. 

We pay respect to Elders past and present and extend that respect to all Aboriginal and Torres Strait Islander peoples today.


The Cyclekart Club of Australia Incorporated